In the world of coffee brewers, the V60 is basically royalty.

Almost 20 years after its invention, the V60 continues to be used in the kitchens of coffee brewing newbies and on the stages of barista competitions, even after the release of many, many, many other brewing devices that all claim to do something better or different (Flow control! Double insulation! Dozens of pointy edges! So many holes!). And as a person that has bought too many of those brewers, I still reach for the V60 again and again.
What makes the V60 so versatile, loved, and long-lived? And what do you need to know about brewing with one?
WATCH THE FULL BREW GUIDE ON YOUTUBE!

Let’s dig into all of that and more and call it a 360 on the V60. Or, let’s not call it that! Ultimately, my goal is to make this the “last V60 guide you’ll ever need”, until something inevitably changes.

This is coming from my years of brewing with the V60, which followed a couple years of avoiding it because I was scared, and then watching many other people talk about it, brew on it, and fuss over it. At the end, I’ll leave you with a tried and true recipe that I lovingly call, “The Reverse Mullet” (I’ll explain why) that works with the V60 to give you a consistent, forgiving, and balanced cup.
Read on to see:
- My introduction to the V60
- How does coffee brewed in the V60 taste?
- What’s the best kind of coffee to brew in the V60?
- What are the different types of V60? Sizes, materials, and more
- What are some V60 alternatives, and should you get them instead?
- Considerations when brewing on the V60
- My V60 “Reverse Mullet” recipe
My Introduction to the V60
I’m including my story with the V60 because some may have had similar experiences, or perhaps it will alleviate any lingering apprehensions.
In my early days of coffee brewing, I got most of my information from online forums, for better or for worse. The consensus at the time was that the V60 was for “more advanced” coffee brewers. Essentially, it punished those that didn’t have the proper technique or the best gear. Fearful that my newbie-status didn’t live up to such a technical brewer — and irrationally fearful that I would produce nothing but trash coffee if I used one — I stayed away and stuck to my tried-and-true Kalita Wave 155 or Aeropress (click either link to see our deep dives on both of those brewers!).

I kept watching videos, I continued learning more about hand brewing, and I upgraded my gear slowly but surely. As I gained confidence and a rather insatiable desire to try new coffee brewers, plus got myself a great hand grinder in the Lido 2, I finally started thinking about the V60 again. All the videos I watched described it as having “great clarity” and “excellent distinction between flavor notes”. Seeing this made me think there was something big I was missing out on. Besides that, it was actually a relatively easy buying decision: the plastic V60 02 can be found for under $10*, which made it low risk.
Early on I did in fact struggle with my brews. I was by no means a rookie at manual brewing — I was routinely using a Kalita, Aeropress, Beehouse, or Clever — but this was my first brewer that was so open and free flowing, i.e. the V60 doesn’t have a mechanism that really restricts flow. Things tasted a bit weak, muddled, and just overall unpleasant.

After a lot of practice and tweaking my own methods, the cups got better and I started to subconsciously grab it more and more often. Eventually, it became my main brewer, something that I run every coffee I drink through at some point. Fast forwarding to the present, I now have multiple versions of the V60 (more on those later) and a few other brewers with similar geometry or brew theory.
Why did that happen? As I talk about next, I think it all comes down to taste preference.
In the end, was I right to worry so much? No, not really. Anyone can make good coffee in the V60, and the talk of it being “advanced” was a little dramatized and has since diminished. In fact, I think the V60 - and one V60 in particular - should be in the cabinet of every person that loves making pour over coffee.
This is one of the major reasons I continue to refer people, no matter what skill level, to the V60 today. As I’ll discuss a little later, it’s one of the greatest bangs-for-your-buck in the world of coffee brewers.
How does coffee brewed in the V60 taste?
The simple answer: Crisp cups with high clarity, great structure, and a thinner mouthfeel.
The general consensus is that the V60 creates cups with very clear tasting notes, especially in single origin coffees like your favorite washed Ethiopian. This is my experience, as well. While something like the French Press will accentuate big body and big sweetness, and a Kalita Wave 185 will give you good balance, the V60 will give your coffee a thin-to-medium perception of body and excellent distinction between flavor notes like fruitiness, cocoa, and florals. I like to think of this as “structure” in a cup, where each flavor note stands on its own rather than being mixed up with each other.
I think this structure is the reason I continue to use the V60. My search has always been for a brew that gives the “best” (albeit this is very, very subjective) representation of the coffee, and to me that means laying out all of its flavors in good separation but also in great harmony.
As an example from the musical realm, imagine you are hearing a song through high quality speakers, and if you focus on the guitar it sounds great, and then go to the bass it sounds rich and deep, and then finally on the horns and they sound sharp and defined. But still together, it all sounds harmonious and layered. That rather strained metaphor is what I like to achieve when I’m making some of my favorite coffees, and I find I get this result the most when I brew on the V60. In fact, there’s part of me that feels like I haven’t really tasted a coffee until I’ve seen it on something like the V60.
All that said, the recipe that I’ve laid out below is specifically designed to draw out great clarity, plus maximize the sweetness that is experienced (because who doesn’t love sweetness?). Keep reading on!
What’s the best kind of coffee to brew with a V60?
Just to be clear, any coffee can and should be brewed on the V60. A lot of pictures you see on a Google Image Search will show the V60 with mountainous blooms, and more than likely these are dark to ultra dark roasts. Conversely, a lot of third wave Youtube video tutorials are using light to medium-light roasts.

For me, I really like the V60 for light to medium roasted coffees, and especially for single origin coffees that have a lot of citrus and floral notes. Why? This primarily has to do with the solubility of light and medium roasted coffees. Without getting too technical, light and medium-light coffees take a little more to extract and create more fines when grinding. As a result, you may experience longer brews and slower drain downs, but this paradoxically gives you a little more control with the way water flows out of the brewer. This slow down pairs nicely with the fast flow of the V60.
Conversely, my experience is that medium-dark and dark roasts go really, really fast when hand brewing. By the time I think I’ve got everything saturated, all of the water has flowed out. It’s a struggle for control for me, and I always end up feeling like I missed something in the brew. This doesn’t happen as much for flow-restricted brewers like the Kalita or full immersion brewers like the French Press or Aeropress. Your mileage may vary of course, and everything is worth trying.
My suggestions for the best coffees for a V60:
- Washed process coffees, especially from Ethiopian, Guatemala, and Kenya
- Gesha / Bernardina / pink bourbons and other very floral varieties
- Very light roasts that are acidity-focused
What coffees I prefer other brewers for:
- Naturally processed coffee (before I make anyone mad, I just feel like a Kalita or other flat bottom brewers balances the fruitiness and ferment a bit better, creating a more rounded cup)
- Medium-dark and darker roasts
- Chocolate-heavy taste profiles
For my recipe below, I generally use single origin coffees that are roasted medium-light. The agitation I use up front helps with extracting these kinds of coffee, but you may need to be a little more gentle with darker roasts.
What are the Different Types of V60? Which is for you?
Due to the V60’s popularity, Hario has slowly released various versions of the classic brewer in form, materials, and function. Going into an exhaustive deep dive would need to be its own blog / poorly-watched movie, so here I‘ll just cover the most popular materials and styles.
MATERIALS
Most V60s come in three kinds of materials: ceramic, glass, and plastic. I’ve brewed extensively on each and found they all have some pros and cons.

- CERAMIC: Hefty and heavy but very durable. Comes at a premium in terms of price. Very consistent with flow from my personal experience. Requires a good pre-heat (usually done when wetting your filter).
- GLASS: More fragile but feels premium. I have experienced more channeling and issues with even extraction in the two glass brewers I have used, but I am unsure why. I very often experience extra drops dripping from the side of the large hole of the bottom instead of the filter. I generally avoid it as a result, but I seem to be alone in this experience.

- PLASTIC: Lightweight and practically indestructible. About ⅓ to ¼ the cost of the ceramic and glass brewers. Extremely consistent with brewing and maintaining brew temp. It is, of course, plastic, so that might be of concern to some. Overall this is the brewer I suggest for almost everyone — it’s cheap, very effective, and will last you forever.
WHAT ARE THE DIFFERENT SIZES OF A V60
A cool feature of the V60 is that there is one for every kind of coffee brewing need. Like to brew one cup? There’s a size for that. Need to brew enough for two or three people? There’s a size for that too. All of the core brewers contain the same “rib” geometry and internal angle (60 degrees, in a “v” shape = V60!), but the height of the brewer changes to allow more or less room for coffee and water.

- V60 01: Ideal for one cup brews and for experimenting with ultra low doses. The lower height of the brewer allows you to get closer to the coffee bed with your kettle, which aids in control. This is what I use at home. Ideal batch size: 12g - 18g
- V60 02: The most common V60 and the one most people picture when thinking about the V60. This size probably suits the greatest number of people. This is the V60 size that I use in the recipe below. Ideal batch size: 16g - 30g (but I’ve used as little as 12g!)
- V60 03 (the Chemex alternative!): Probably(?) the least common V60. It is by far the biggest and is perfect for those that want a Chemex-like cup and brew size without sprinting for a Chemex. In fact, I would go as far as to say this is a great choice for those looking for a Chemex-like experience on a budget. Ideal batch size: 28g - 45g
Pro Tip
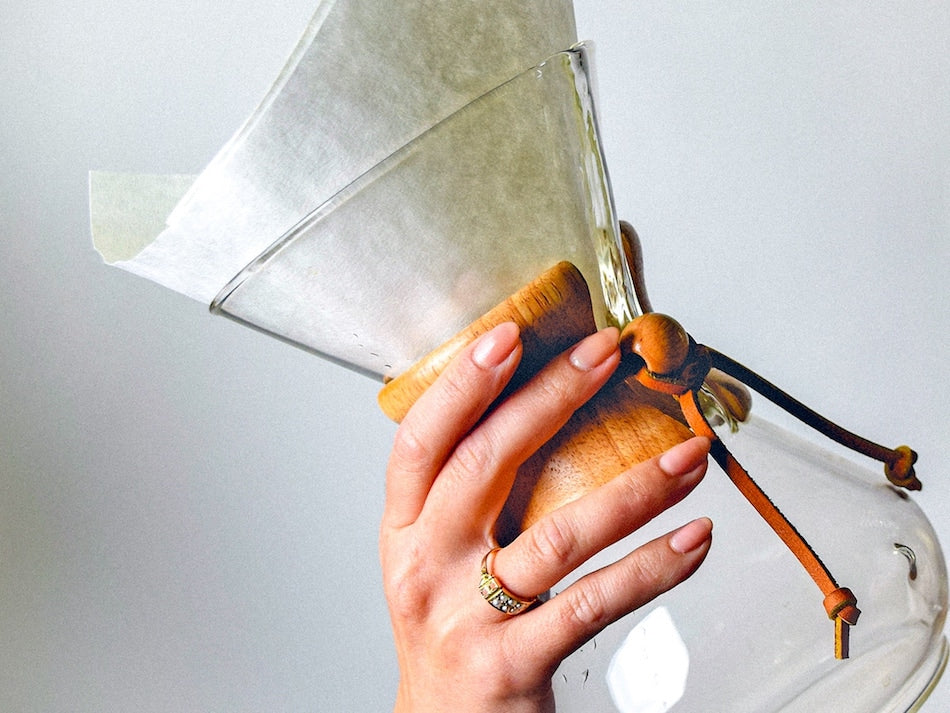
Use a Chemex filter in the V60 03 for Chemex-like cups.
Learn More Ways to Transform Your CoffeeOTHER VERSIONS OF THE V60
- SWITCH: This is going to make a liar out of me, but this is the V60 I am using the most lately. Its basic selling point is that you have the ability to completely stop the flow of water coming out of the brewer via a nifty switch mechanism. I love this because I’m able to do full immersion blooms and general experimentation. So far I’ve experienced even sweeter, juicier cups. Get our full Switch recipe here: Hario Switch Pour Over Recipe

- 4:6 METHOD / TETSU KASUYA: This could be its own blog, but the “4:6” method took the V60 world by storm after Tetsu Kasuya won the World’s Brewers Cup with it in 2016. This brewer modifies the ribs at the bottom of the cone to give a slower drain down. Consider this an advanced, highly-specialized model. You can see it here.
WHERE TO BUY A V60
We don’t sell any V60 models at the moment (we may offer them up soon), but if you’re in the market for one I have always enjoyed my interactions with prima-coffee.com. They are a relatively small purveyor of all things coffee and it’s great to support other people in the coffee industry.
Sub-section: The dreaded filter discussion
Weirdly, V60 filters have been one of the most hot button issues in coffee brewing the last couple years. Long story short, things were going nice and steady with V60 filters, and then all of a sudden filters with a tab (a TAB!!!) started showing up and wrecking cups like there was no tomorrow. That’s mildly exaggerated but you know how hobbyists are. Things are still a little up in the air and unclear, but it appears as though different manufacturers using different paper for the filters is the culprit.

What’s my suggestion? Perhaps it’s even more controversial:
Don’t use the V60 filters at all!
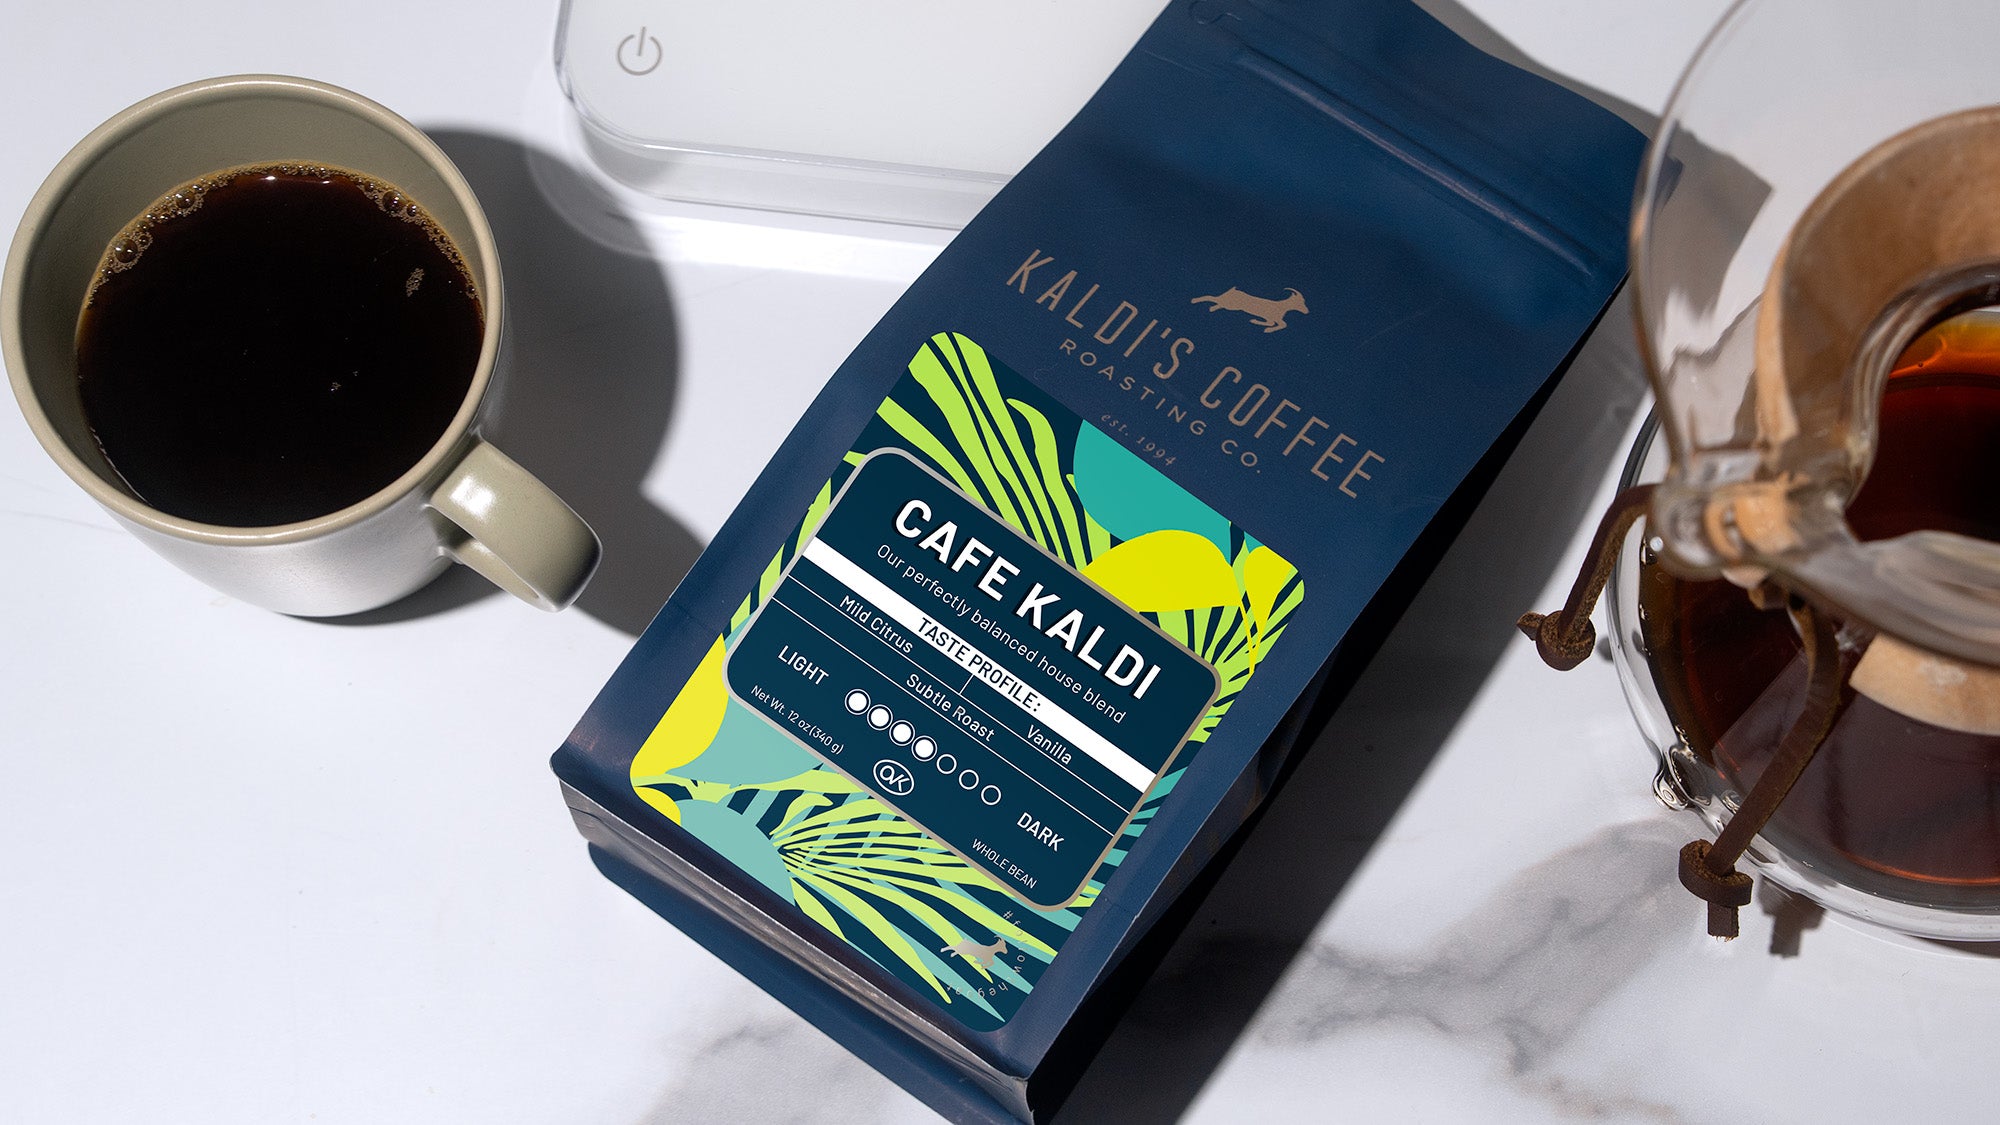
Cafec Abaca* filters came onto the market in recently and overall seem to be universally loved. They use more sustainable paper, have great flow, and are very affordable. Even better, different versions are coming out all the time, some with specific designs for brewing with dark or light roasts. This is what I have been using ever since the “controversy” started, and I haven’t looked back.
*Amazon is currently these best place to get these. We are not affiliated / that is not an affiliate link.
What are some V60 alternatives?
Of course, the V60 is not alone in being a conical brewer with 60 degree-ish sloped walls. In the intervening years, many competitors have released their own version of a similar dripper, with most of them just slightly changing the internal ribs in an attempt to coax something different out of water flow (how fast water moves through the bed of coffee).

I’ve tried several of the competitors on the market (I have the Cafec, Kono, and Origami in my home cabinet), and my verdict is…. they all make very similar coffee. The Kono Dripper has smooth walls on top of shorter ribs to give a slower flow. The Origami Dripper has the added feature of being able to use both V60 filters and Kalita Wave filters.

I'd have a hard time saying that you're really missing out on anything if you have one or the other. You can feel free to execute some self-expression here if you like a certain look or feel better!
Considerations when brewing on a V60
Let’s start getting to the meat of it here. The recipe I lay out below — “The Reverse Mullet” — takes from current understanding of coffee extraction and pairs it with the natural attributes of the V60 to get a cup with high clarity, great sweetness, and consistent results.
A Couple Brewing Basics:
- For light roasts: you’ll want more brew time, hotter water, and a little more agitation.
- For dark roasts: you’ll want to use cooler water (as in 195 vs 205 Fahrenheit) and less brew time
V60 General Brewing Tips:
- Limit the ability for water to seep out the sides of the filter. Some water inevitably channels out of the sides of the filter before hitting the coffee. This can be reduced by limiting how high the water gets in the brewer.

- Get everything very wet, and do it fast. A better, more evenly saturated coffee bed leads to a better tasting cup of coffee.
- Get everything very hot, and do it fast. Coffee brews best between 195 and 205 Fahrenheit, so the goal is to get there quickly in the brewing process.
- Make a divot in the grounds, but gently. The bed can get pretty deep at its deepest point, so the divot helps make sure the bottom of the coffee grounds gets the bloom water too.
- You really need a gooseneck kettle. Control with the V60 is a must.

- However! You want to limit the damage of a gooseneck kettle. The stream is great for control but bad for disturbing the bed of the coffee (unless you want it too). Practice pouring gently.
The recipe below is specifically designed to bust up channels, get the heat up, and then let the water and coffee do their thing. It sounds complicated, but after a couple of brews muscle memory really kicks in.
Let’s start getting into the details!
-