Rob drops into our blog to talk about his favorite brewer. Enjoy!
-

I’ve been using the Kalita Wave 155 since 2016. I was in my early days of learning how to make pour over coffee. It was a ripe — and dizzying — time for new brew recipes and new brewers popping up on Kickstarter, and to my burgeoning coffee mind it seemed like every new theory or product would contain a revelation or a revolution.
Since then, I’ve learned a lot and become fully comfortable with my moniker of coffee hobbyist. But no matter what the hottest brewer or brew method of the moment is, I still end up going back to the 155 a few times a week. It has taken on a nostalgic, almost-legendary stature in my way-too-full cabinet of coffee brewers.

But why? Why does this modest brewer hold such a place in my heart? It’s probably 75% emotion, 25% science. But after 6 years of brewing on the 155, I wanted to write this for two main reasons:
- As a bit of an ode to how much it has impacted my specialty coffee experience and
- To help people who may be considering getting one.
At the end, I’ll give my brew recipe that has given me my best results through these happy years.
▶︎ Skip to the Brew Recipe ◀︎
Why I Chose the Kalita Wave 155
For the uninitiated, the Kalita Wave 155 is the smaller version of the classic 185. It comes in two materials: stainless steel and glass.

The difference in size between the 185 (left) and 155 (right)
I had two reasons for picking up the 155:
- It’s a forgiving brewer, perfect for a newbie
- It’s specially designed for smaller doses
At the time, I was still having trouble getting brews that tasted like what I was drinking in a cafe or from more experienced hands. The Kalita Wave is renowned for being easy to use and giving great, consistent results. The 155 is no different in this respect, and this was very appealing to me as a beginner (it actually took me a year or two to be confident enough pick up a V60, which people kept saying is more “finicky” and suffers more from bad technique).
Also, as the only coffee drinker in my house, and as a person with a (still to this day) low tolerance for caffeine, I needed a brewer where I could feasibly do 13-16 gram coffee doses. This is not possible in a brewer like the 6 Cup Chemex, and the Kalita Wave 185 is more optimized for brews 20 grams and above due to its width and height.
Learn More About the Chemex & Kalita Wave
Read more about why we brew with these two classic pour-over methods.
Read the Chemex & Kalita Wave BlogSo I put my order in for the stainless steel model and started making the most glorious brews of my life, the end.
...Not so fast! Coffee isn’t quite like that, and my process was only just beginning.
Troubles with the Stainless Steel 155
Armed with my Baratza Encore, fresh filtered water, and a Bonavita gooseneck kettle, I began my life with the 155. From the jump, I had inconsistent results and initially blamed my lack of experience. A brew that finished in 2 minutes 45 seconds one morning drug out to 4 the next with nothing changing in the middle. For some brews, the water would simply pool on top of the coffee bed and not go through.
Later on, I would recognize this as “stalling” or “clogging”, which can happen for a variety of reasons.

I learned some tricks along the way, like readjusting the filter in the brewer while it was draining and trying to be extra careful during the bloom. But, if there’s one rule I stood by then and stand by now it’s:
You shouldn’t be fighting with your coffee brewer
There are enough variables in coffee brewing to worry about: coffee region, processing, water temp, grind size, and on and on. One thing you should not have to worry about, in my mind, is if the brewer is going to “behave”. I’m always surprised when I see other brewers on the market that need a decent amount of coddling, tips, and tricks for this reason.
Frustrated, I ditched the stainless steel 155*. But, after poking through some more forums and hearing about some good experiences with the glass version, I opted to give it one more try.
The Kalita Wave 155 Glass Model
The Kalita Wave is rather unique in the world of coffee brewers. The 185 model offers variations in glass, stainless steel, and ceramic, but the glass version is distinctly different in both the 155 and 185.
In the steel and ceramic version, the bottom of the brewer has a three pronged bump in the middle that pushes the filter up and off of the drainage holes. The glass model, in contrast, has the holes sitting in a kind of crevice along the sides of the brewer, with a pronounced bump in the middle. This essentially completely prevents the coffee filter from covering the holes and clogging (or stalling) the brew due to lack of air flow.

The difference between the bottom of the stainless steel and glass 155. The glass version has holes seated well below the bottom of the filter.
Once I started using the glass model, it was like using a whole new brewer - because, well, it kind of is (someone with a degree in the physics of water flow may find issue with that statement). Either way, I finally had the consistency I was looking for and the results in the cup were excellent from the jump. This, coupled with my newfound recipe, gave me delicious brews time after time and still do to this day.
*Note: I have used other stainless steel 155’s since this time and had no clogging issues.
Also Interested in the V60?
Get the deep dive, user experience notes, and brew guide.
Read the V60 GuideQUIRKS, TIPS, AND BREW METHOD FOR THE 155
It’s not a perfect brewer, however, and I encountered some quirks along the way:
Quirks with the 155, and Tips for Fixing Them
- QUIRK: It can be hard to get coffee grounds into the filter without some spilling into the gaps of the filter
- Tip: If you have one, use an Aeropress funnel. I do this every single time and it works perfectly (and I use it for almost every other brewer, too).
- QUIRK: Filters lose their shape and can be hard to seat in the brewer
- Tip: Sacrifice a coffee mug and keep your filters inside of it. This alleviates the issue completely, in my experience.

Storing your filters in a coffee mug helps retain their shape and makes your morning brewing a bit easier.
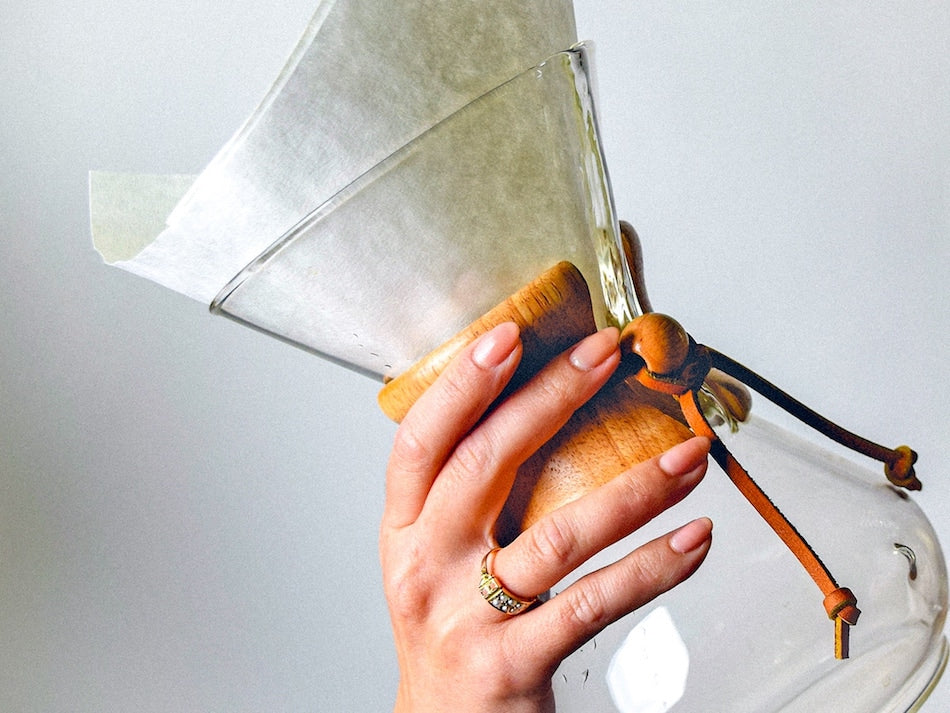
- QUIRK: Wetting the filter can be tricky due to the small size and number of ruffles
- Tip: Pour your water hard into the middle of the filter and let the water level rise up from there. It is more helpful to have a fast flowing kettle for this. You can even do this under a sink and then use water from the kettle for a little heat afterward.
My Kalita Wave 155 Brew Method:
Watch a quick Youtube Short of the recipe here:
Keep in mind that precision is not entirely necessary with this. Ultimately, the method could be summarized as:
Heavy bloom, then 30 ml pours changing between going inside out to outside in until you’re done.
- Ratio: 1:16
- Coffee: 16g
- Water: 256ml
- Target brew time (light-medium roast): 2:30-3:00 minutes

Recipe
- 16g coffee, ground medium fine
- 256 mL water (1:16 ratio), filtered or use a product like Third Wave Water
- Depending on roast, use anywhere from 195 degree to boiling water
- Bloom: pour 35-45 mL water rather aggressively to break up dry clumps. Swirl a bit to evenly saturate.
- After 45 seconds, pour in a swirl to around 80mL, starting in the center and then working your way to the outside
- When the water level gets just above the coffee bed (coffee bed not exposed to any air), start from the outside and then swirl your way back to center with 30 ml.
- Repeat, but change between going from inside out to outside in each time with 30ml.
- Stop pouring when target brew weight of 256mL is met.
- For Light to Medium-light roasts, target time is between 2:30 and 3:00.
What I like about this method:
- Uses agitation to ensure even extraction
- Adjustable: Works anywhere from 12g to 20g
- Consistent
Summary:
I’ve always considered the glass Kalita Wave 155 to be a bit of an unsung hero for coffee brewers. It’s an older brewer, so it doesn’t have that “shiny new toy” feel. It’s quite small so it detracts heavy drinkers from picking it up. And it isn’t seen as often at cafes that are looking for bigger pour over batches.
But I believe it has a home in any cabinet. After all these years, no matter what coffee I have or what new brewer I’ve been testing, I end up coming back to its extraordinary balance and ease of use.
I hope this either helped you with your own method or at least gave a new appreciation for this little-teacup-thing-of-beauty.