Kalita Wave 185 Pour Over How To (For Beginners) | Making the Switch from Auto

A Mr. Coffee automatic coffee brewer next to the Kalita Wave 185 and a 2lb bag of 700 blend

MAKING THE SWITCH FROM AUTO? WATCH OUR COMPANION VIDEO!

Watch the Kalita 185 Youtube video

Click Here to Skip to the Recipe


INTRO: A KALITA 185 PRIMER

We've been brewing with the Kalita Wave in our cafes for many years. It's easy to use, easy to learn, exceptionally consistent, and offers a balanced brew of any coffee.

For these reasons, we think it's a great entry-level coffee brewer (that can also grow with you).

Featuring three small holes on the bottom, the Kalita slightly restricts the water flow leaving the brewer and is considered to be a little more forgiving and consistent as a result. The flat-bottom geometry is also known to drive up the sweetness in a coffee and provide a very balanced cup.


The three holes on the bottom of the Kalita Wave 185


The Kalita Wave comes in two sizes - 155 and 185 - and in three styles: stainless steel, glass, and ceramic. Here, we'll be giving a simplified recipe for the 185 version.


Read more about the Kalita Wave 155 and get a tried-and-true brew method in our blog:


KALITA WAVE 155: USER EXPERIENCE


WHO'S IT FOR?

Simple answer: everyone!

If you're a coffee-wiz with lots of experience hand brewing, the Kalita is one of those core brewers that you have in your cabinet. There's enough room to play and experiment with brew recipes, and it provides exceptional results that will do justice to any coffee you put in it. 

MAKING THE SWITCH FROM AN AUTO BREWER

We think the Kalita Wave 185 is the perfect brewer for those that have been using an automatic brewer and are looking to get into pour over. It's consistent results minimizes fears of "messing up" your brew and it provides a familiar taste profile to those used to batch-brew. The filters are also reasonably easy to find and the stainless steel model is very durable for the more... error-prone among us. 

Curious why you might want to switch over from an auto brewer? We talk about this extensively in our Kalita Wave video, but ultimately you gain much more control over your coffee brew with a pour over device. Things like water temperature, even pouring, and brew time are much more controllable and tweak-able in a pour over brewer. And it just so happens that the Kalita Wave is a great jumping off point from using an automatic coffee brewer. 
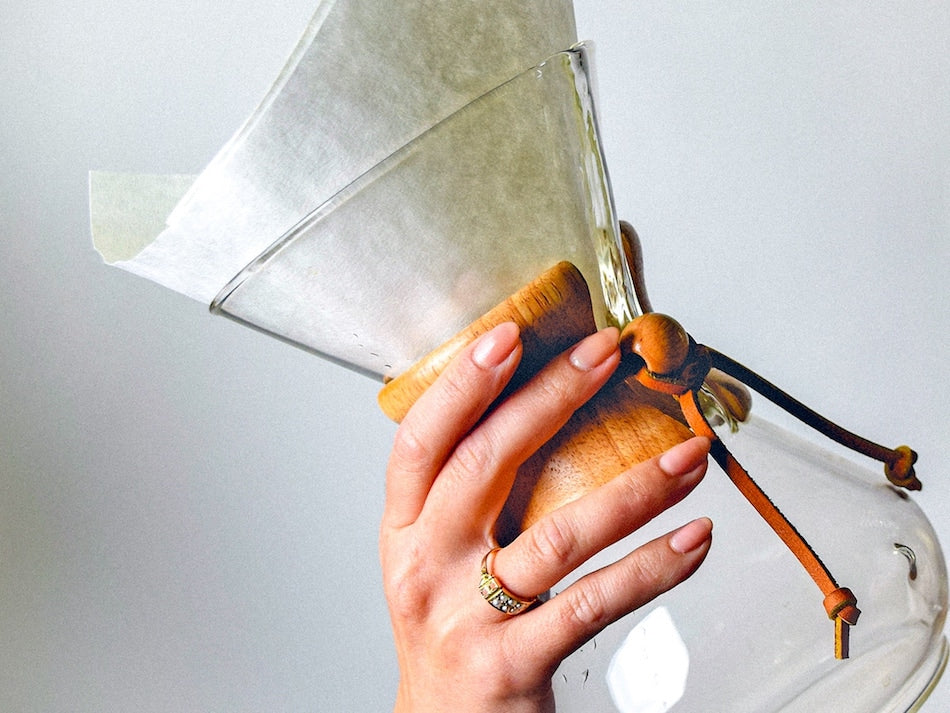
THE FILTERS

Kalita Wave 185 filter and brewer

Kalita Wave filters are also known for their ridges that keep them from sticking to the walls of the brewer. Although this creates a tad more work for separating them out of the package, the “crinkles” of the Kalita filter encourage airflow for a more predictable, even brew. 
 

COFFEES TO TRY

The Kalita Wave works great for any kind of coffee, but we especially love it with coffees with prominent chocolate, nutty, and dried fruit notes as it really accentuates those notes. 


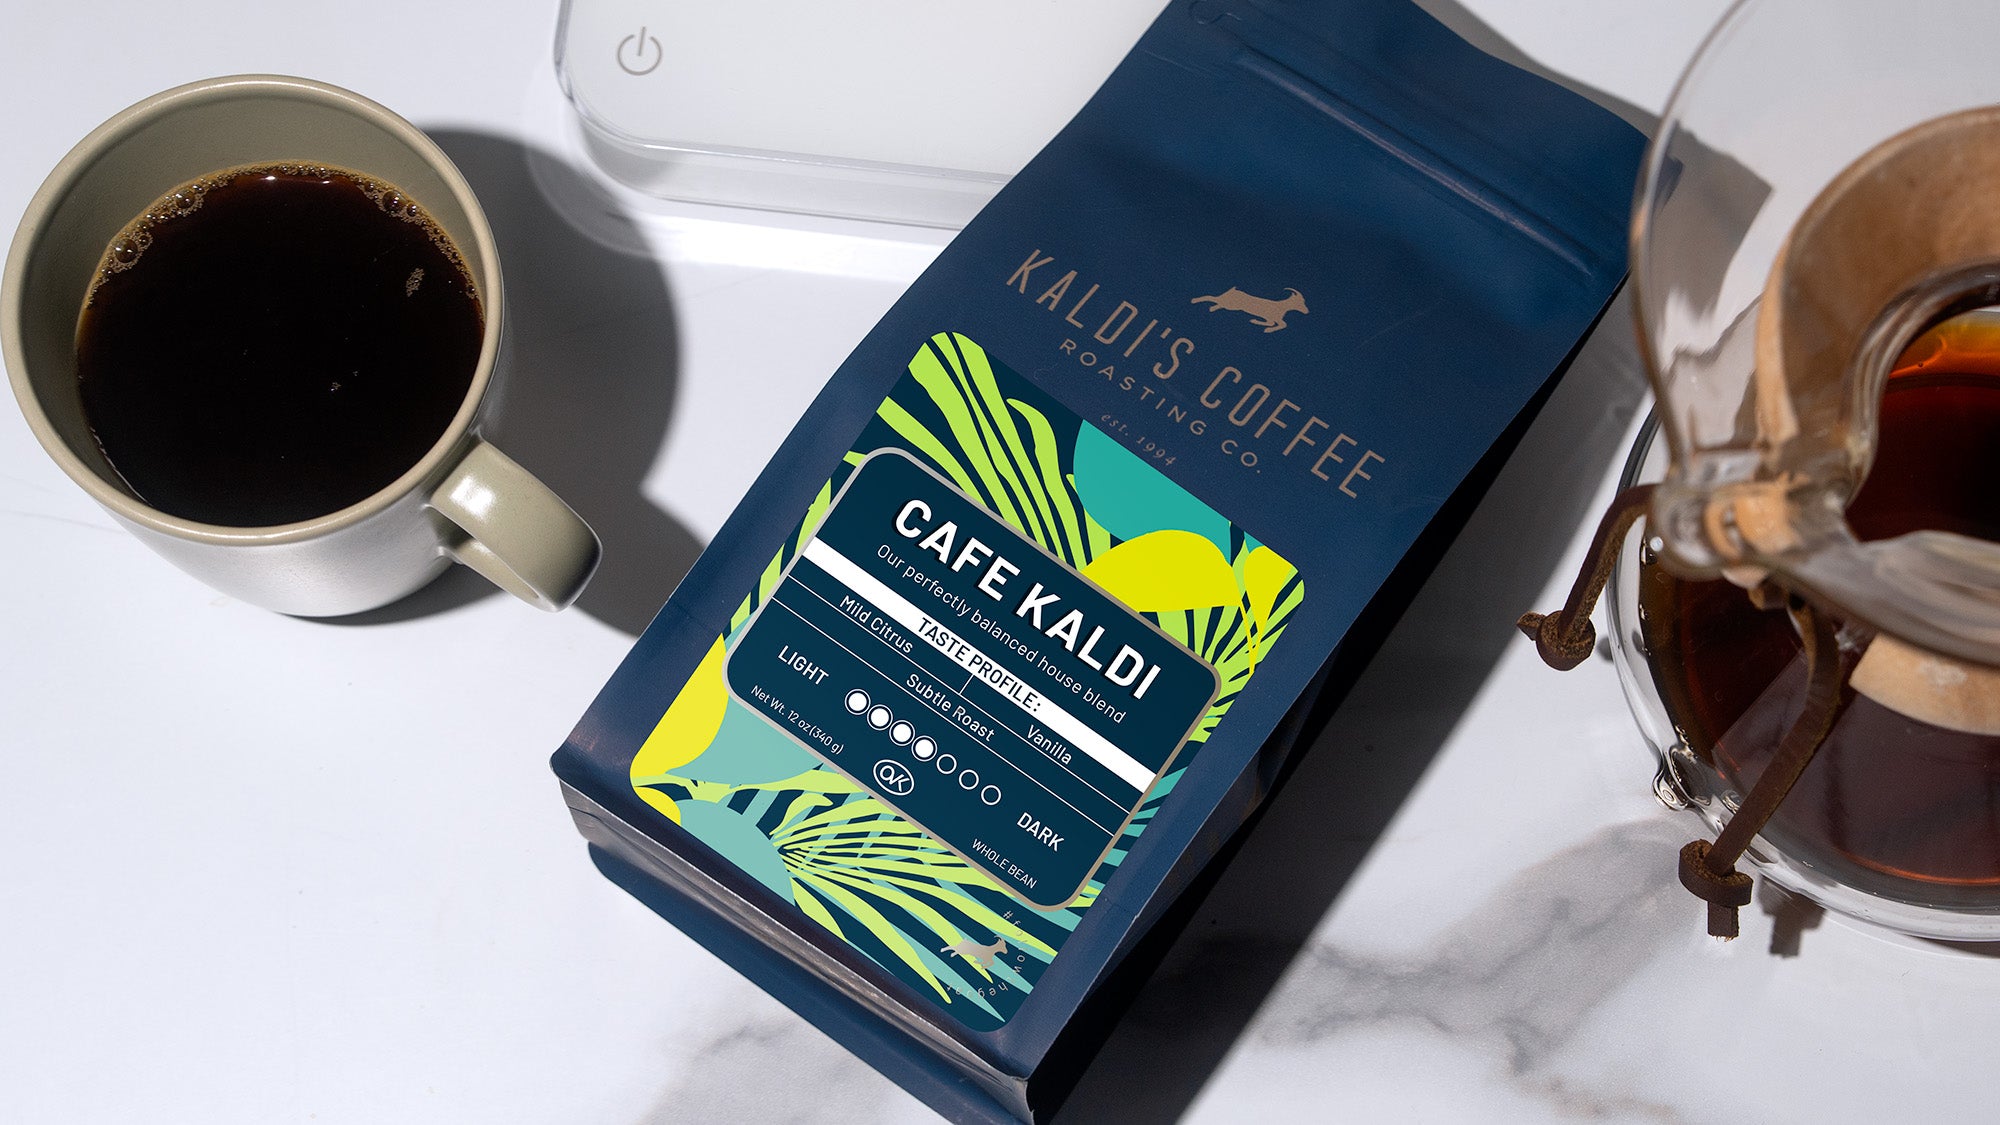
Try it with: Central American Coffees (such as El Salvador), Colombian Coffee, and our flagship blend Cafe Kaldi. 

Kalita Wave 185 Pour Over Guide for Beginners

A Kalita recipe specifically for those that are either new to pour over brewing, or just want a recipe that's as simple (and tasty) as possible. 

We've designed our Kalita Wave 185 recipe to be easy to follow no matter your skill and give you a great cup no matter the coffee you're using. The core of the recipe will give you one full 10oz cup, but once you're comfortable you can scale up (or down), so long as you're using around a 1 to 16 coffee to water ratio (1 gram of coffee to 16 mL of water). 

Author
Kaldi's Coffee
Prep Time
2 minutes
Cook Time
2.5-4 minutes
Servings
1
Category

Coffee Brewing

Ingredients

  • Kalita Wave 185 dripper
  • Kalita filter
  • Gooseneck pouring kettle (we like the Fellow Stagg)
  • Filtered water at optimal brewing temp of 195 - 210 degrees
  • Decanter large enough to brew into
  • Scale
  • Timer

Directions

  1. Weigh out 20 grams of coffee.
  2. Place the filter in the Kalita Wave, and then place the Kalita Wave on top of the decanter.
  3. Rinse the filter with a little bit of hot water, making sure the whole filter is wet. This eliminate paper taste and preheats the Kalita Wave and the decanter.
  4. Discard hot water from the decanter, and discard any excess water from the Kalita that may be retained under the filter.
  5. Heat up at least 500mL of filtered water to 195 - 205° F. You can get water to this temperature by bringing it to a boil, and then letting it sit for 30 seconds to a minute.
  6. Grind your coffee using a medium grind setting. It's best to grind recently roasted whole bean coffee, and to do this right before you brew, as you'll be using the freshest coffee possible.
  7. Again place the Kalita Wave on top of the decanter.
  8. Pour the coffee grounds into the Kalita Wave's filter, and tap the Wave, or gently shake back and forth to flatten out the grounds. This helps to remove air pockets and create a flat surface to work with.
  9. Place the Kalita Wave and your decanter on the scale, and tare it out (zero out the scale). This will allow you to measure how much water you use during the brewing process.
  10. Start your timer and begin your "bloom" by pouring 40-60 mL of water evenly over the coffee grounds. All grounds should be evenly wet.
  11. Watch the coffee bloom (bubbles) for about 30-45 seconds, after which the bubbles will stop forming. This is a great chance to take a sniff - it will smell wonderful.
  12. After the bloom, slowly and continuously pour in small circles until you reach 320 grams on your scale. Make sure the color on the top of the coffee bed is consistent.
  13. Extraction should be complete after 2:30 to 3:00. If it's a darker roast (like our French Roast) it should take shorter. If it's a light roast like our single origin coffees, you'll want it to go longer.If your coffee comes out weak or sour, your grind was likely too coarse. If it comes out intense, bitter, and drying, your grind was likely too fine. Adjust your settings and try again. (Don't be afraid to keep trying new and different variables, all coffees are different!).
  14. Remove the Kalita Wave from the decanter, and swirl the decanter to ensure coffee integration.
  15. Pour into your favorite mug and enjoy!
  16. Discard or compost your used coffee grounds.